How to Build a Virtual Conference Booth


A virtual conference booth?
Every July, I get the same feeling – it’s time to pack and fly to San Diego for the annual Esri User Conference but the pandemic changed everything. No excitement of the plenary with thousands of other attendees, no booth setup… the booth suddenly became a reality for me and instead of the regular 20-30 minutes for putting it together, it took quite a few days to assemble. And now, the Safe Software Virtual Booth is a thing you can visit and explore.
Where to Start?
Some would say it takes magic. At least, our marketing department thought so.
“Dmitri, do your magic”, they asked.
It’s nice to pass for a wizard, but I needed at least some data to begin. I started with a PDF containing a 2D plan, some 3D views, and dimensions of the booth from previous years:
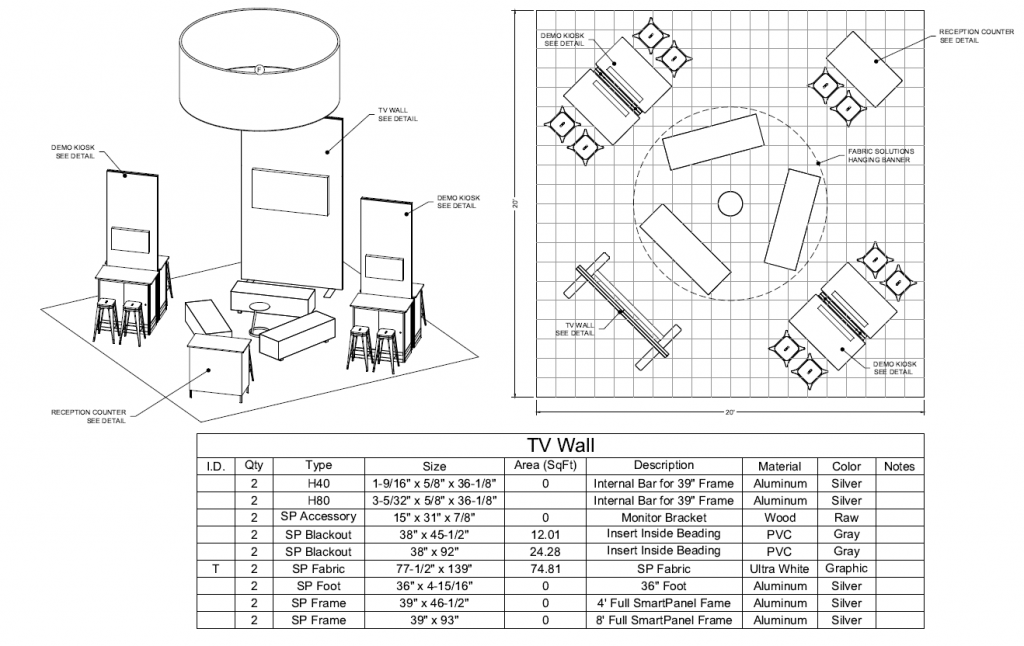
I was also provided with graphics:
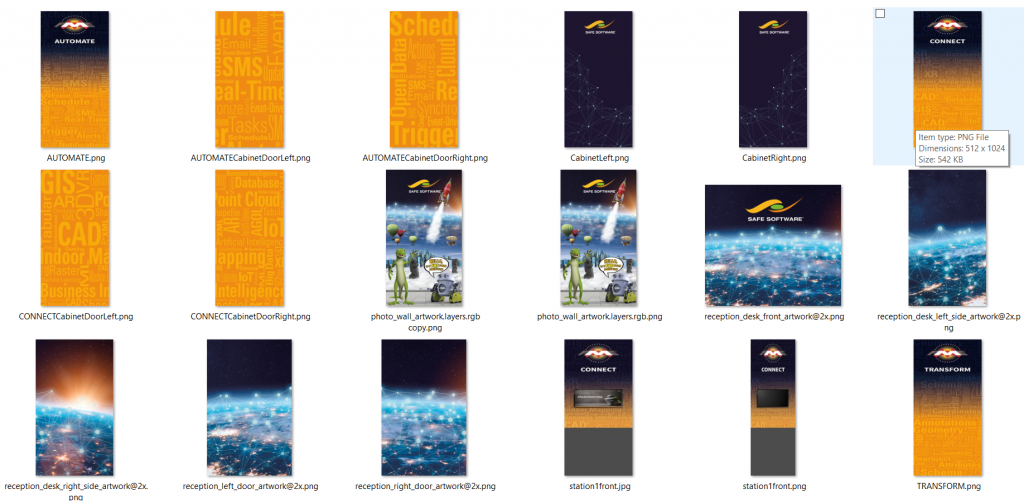
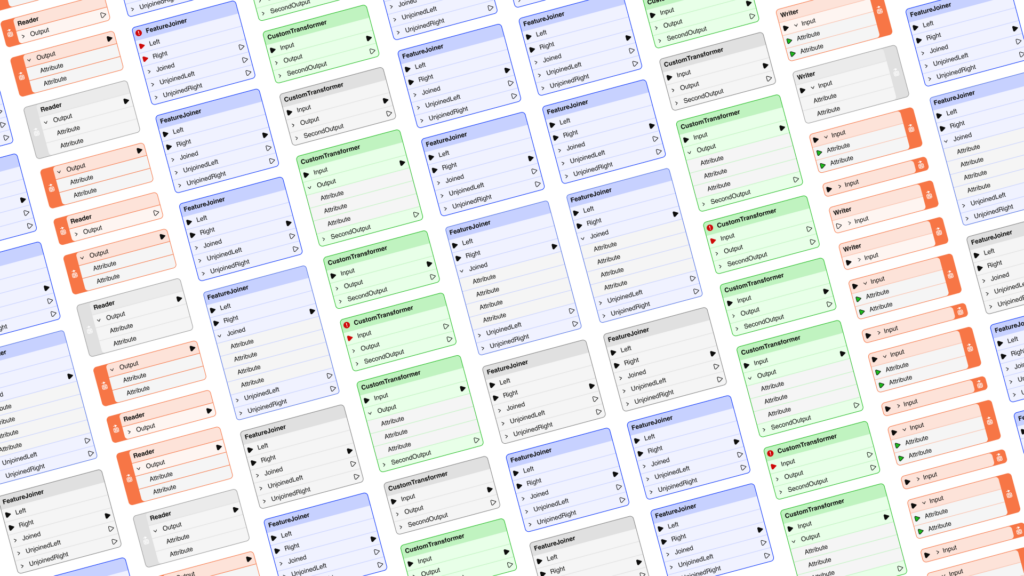
I had everything to begin construction, but not with a hammer, a level, or a drill. My primary tool was FME.
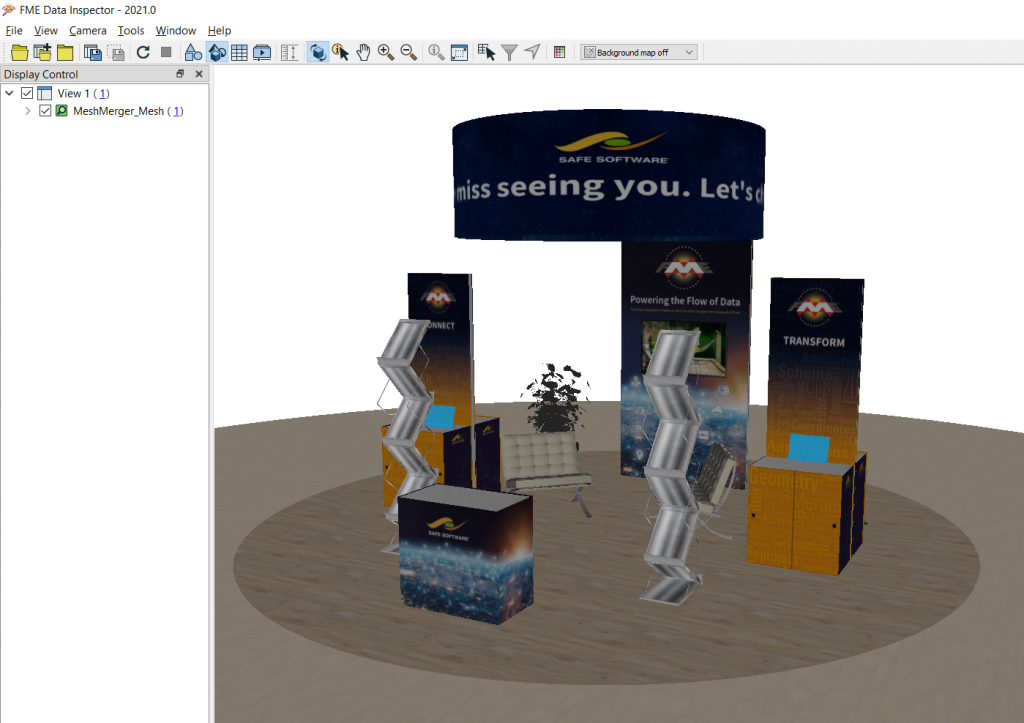
Extracting geometric data from PDF is often not the easiest task, and in retrospect, drafting a few rectangles in CAD or even using Creators in FME would be more efficient. Once I got most shapes out, the process became much easier – force a shape to 3D, extrude, apply textures. Repeat.
A nice part of a virtual booth is that we don’t need to be cautious about the budget. Hardwood floors? Done! And maybe some expensive furniture? Let me check Trimble’s 3DWarehouse. And I can grab a couple of plants, too.
The rest is simple – create a polygon for the floor, bring in SketchUp models, move them around to find the best position and the booth is ready.
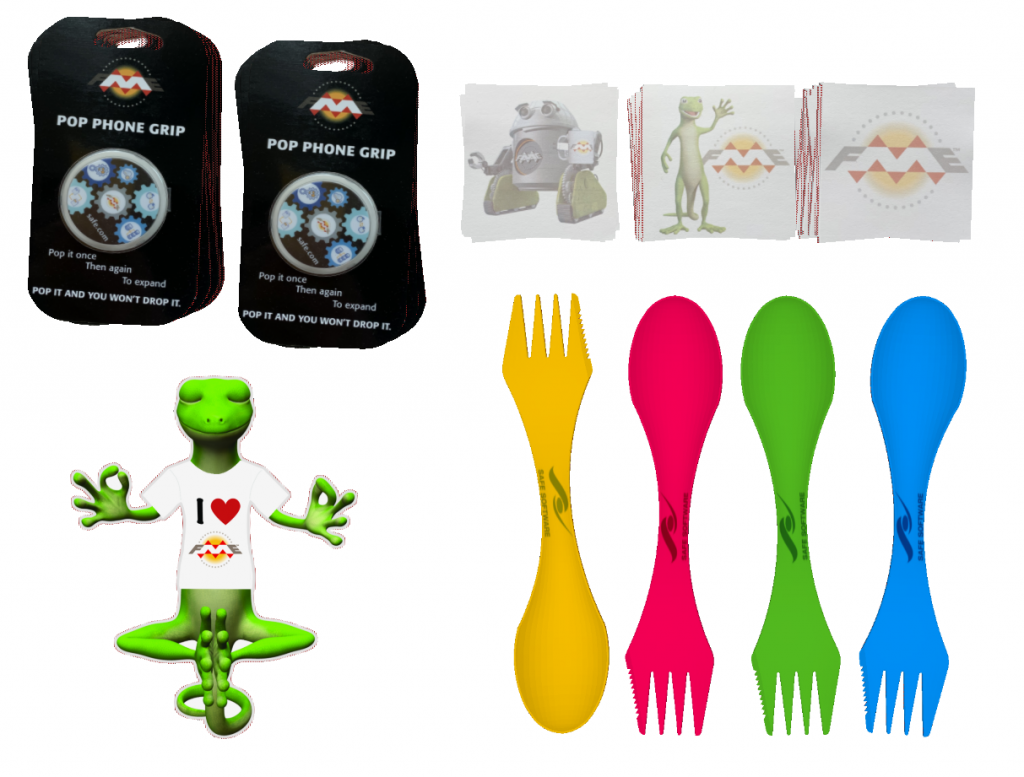
Throughout the years, our guests could always count on finding some nice swag and useful collateral at our booth. We decided this year should not be an exception, despite the pandemic. Sporks, phone grips, stickers and sticky notes arrived at the booth as scheduled.
A model of a spork and a simple box for stickies needed only texturing. Phone grips and the lizard stickers came from the photos in the swag order spreadsheet and went through vectorization of their shapes before the images were added to their vector faces. A random rotation for each feature added a bit of realism to the stacks of the items.
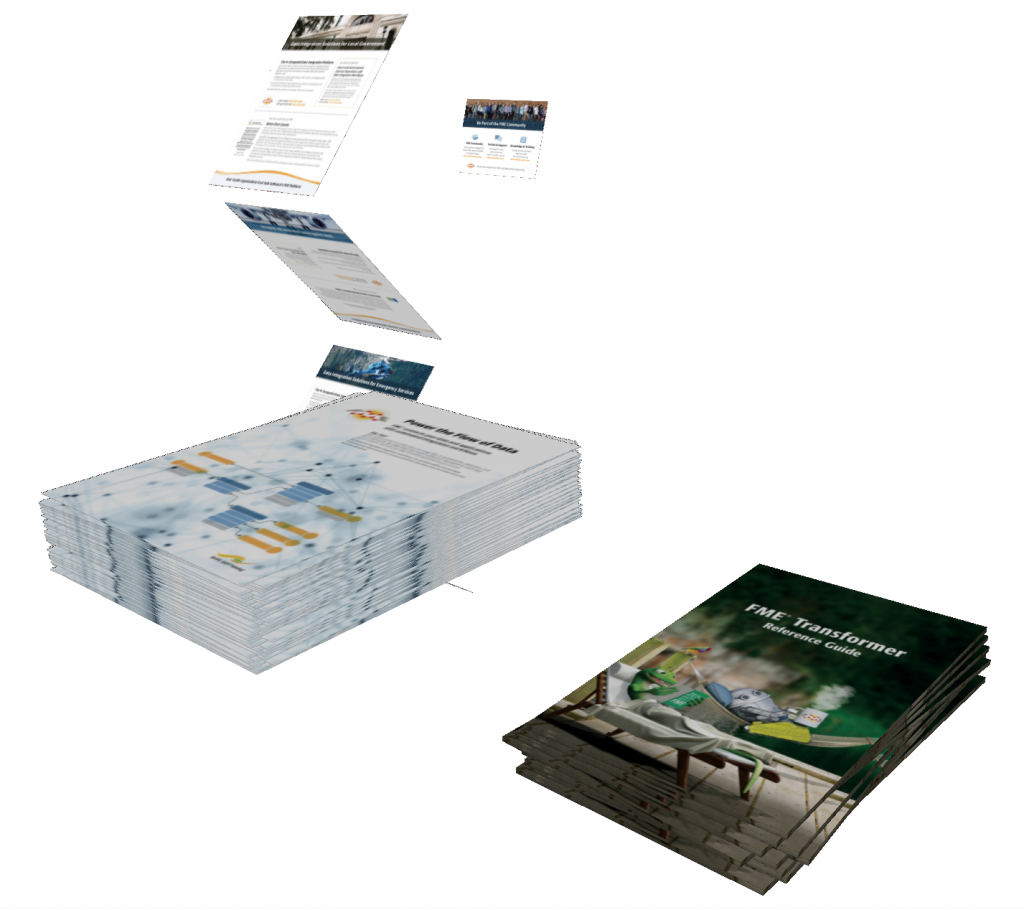
Placing collateral on the exhibition stands was an exercise in finding the proper offsets and rotation angles for the simple face geometries with textures made from the PDFs.
That was it! The booth and its contents were created. The last thing was to save it as a series of glTF files. The waving FME Lizard was created by the team of genius designers that create a lot of wonderful graphics for Safe Software. But I learned how to change Lizard’s t-shirt.
3D Visualization for Everyone
When creating our virtual booth, we had one main consideration: how can we make a 3D scene that everyone can easily watch without installing anything? In the past, we would have used KML or PDF 3D, but neither of these options was perfect because they require installing a program for viewing, and the visualization capabilities weren’t great.
The only program that we reliably can expect everyone to have on almost every computer and smart device is a web browser.
In recent years, I experimented a lot with ThreeJS, a JavaScript library for 3D rendering. I made all kinds of visualizations such as a flight over Lower Mainland, a hike to First Brother Mountain, and a Vancouver Flooding scenario. All these demos, however, didn’t have any interactivity with the objects on the screen. Luckily I remembered I did an experiment with 360° photos in the old Safe Software office adding links to a series of spherical objects, which meant I could make the booth interactive, too. I think it worked really well.
Without going into too much detail, here is what I did in ThreeJS:
- Create a scene
- Load all the glTF models
- Add lights
- Declare a camera position and orientation
- Finally, add some interactivity.
When certain objects intersect with a ray connecting the camera and the mouse position, I added actions. For example, changing how an object looks, moving it to a new position, or opening a link in a new tab.
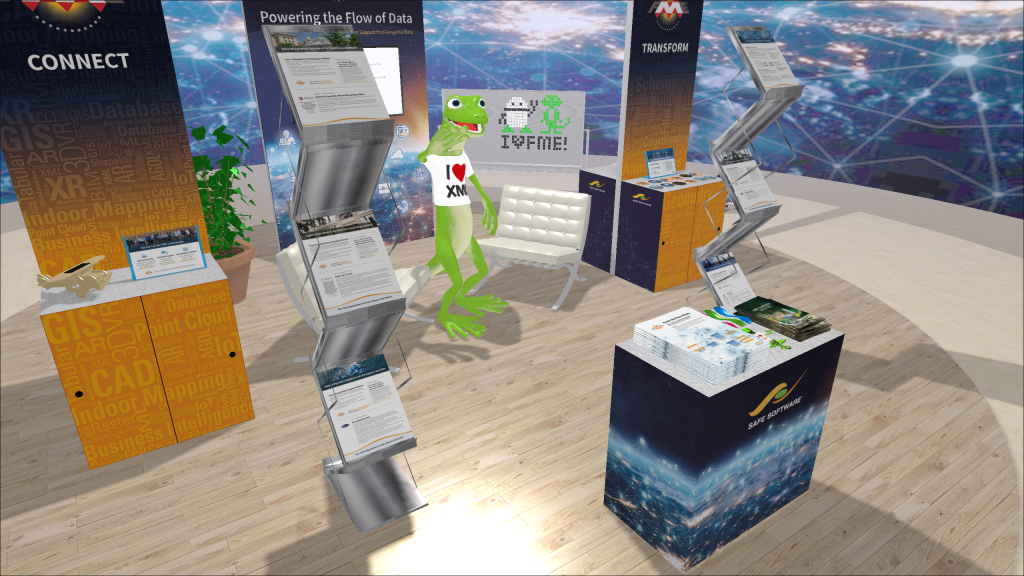
Then Don Murray, a co-founder of Safe Software, asked me whether we could hide an XML Easter egg (Don is the biggest fan of XML in the world). Dale Lutz, the other co-founder, wanted an Easter egg with shapefile, which reflects his obsession with the @shapefile account on Twitter. Finally, our marketing team also told me they would like to have a scavenger hunt activity at the booth.
This challenge only made the whole booth creation process more fun. I added three official Easter eggs and finding them gave the lucky hunters the real swag sent via mail. I also created two unofficial Easter eggs. One was a set of Safe Software socks, which I hid somewhere, and one is a personal greeting to the curious minds who can think outside the box… or the sphere. Are you up to the challenge? Can you find all five? Check the clues for the official Easter eggs:
- What do we love, and think you should too? (Hint: drag your mouse over all the whiteboard tiles!)
- Head back to our virtual booth, and type one of the following letters: L, M or X. What format do we love?
- On what object is the third easter egg in our booth hidden? (Hint: anything goes to Shapefile. And anything comes from Shapefile.)
Conclusion
When it came to building the virtual booth, FME plays its usual role really well:
- Preparing data for its final destination by reading lots of data sources in a multitude of formats
- Transforming sizes and positions
- Fixing geometric errors
- And saving to a chosen format
Once the data is ready, other tools can do with it whatever they do best. In this case, the ThreeJS library made a wonderful interactive 3D visualization, which we at Safe Software can use during virtual events anywhere in the world.
The booth has already “travelled” to three conferences and two job fairs at universities. All I need to do is change the videos on the monitors and replace the collateral.
And FME Lizard became a real fashion enthusiast – he changes his t-shirt for every new event.

